In This Article
Overview
Your team can clock in and out of jobs and track expenses from anywhere, so you can prep payroll faster.
Entering expenses into Jobber allows you to keep track of your costs. You are able to upload copies of the receipt, select if it’s reimbursable to your team, and record the expense against a job. Expenses can be entered from the Jobber mobile app or on any device by logging in at jobber.com
Expenses are available on select plans. View our current pricing plans.
To check what plan you’re on, navigate to the Gear Icon > Account and Billing. If you have any questions about your plan’s features or pricing, our support team is here to help!
This article covers expenses on jobber.com, check out Expenses in the Jobber App to learn about the app.
Add a new expense
Expenses can be recorded in 2 ways on jobber.com:
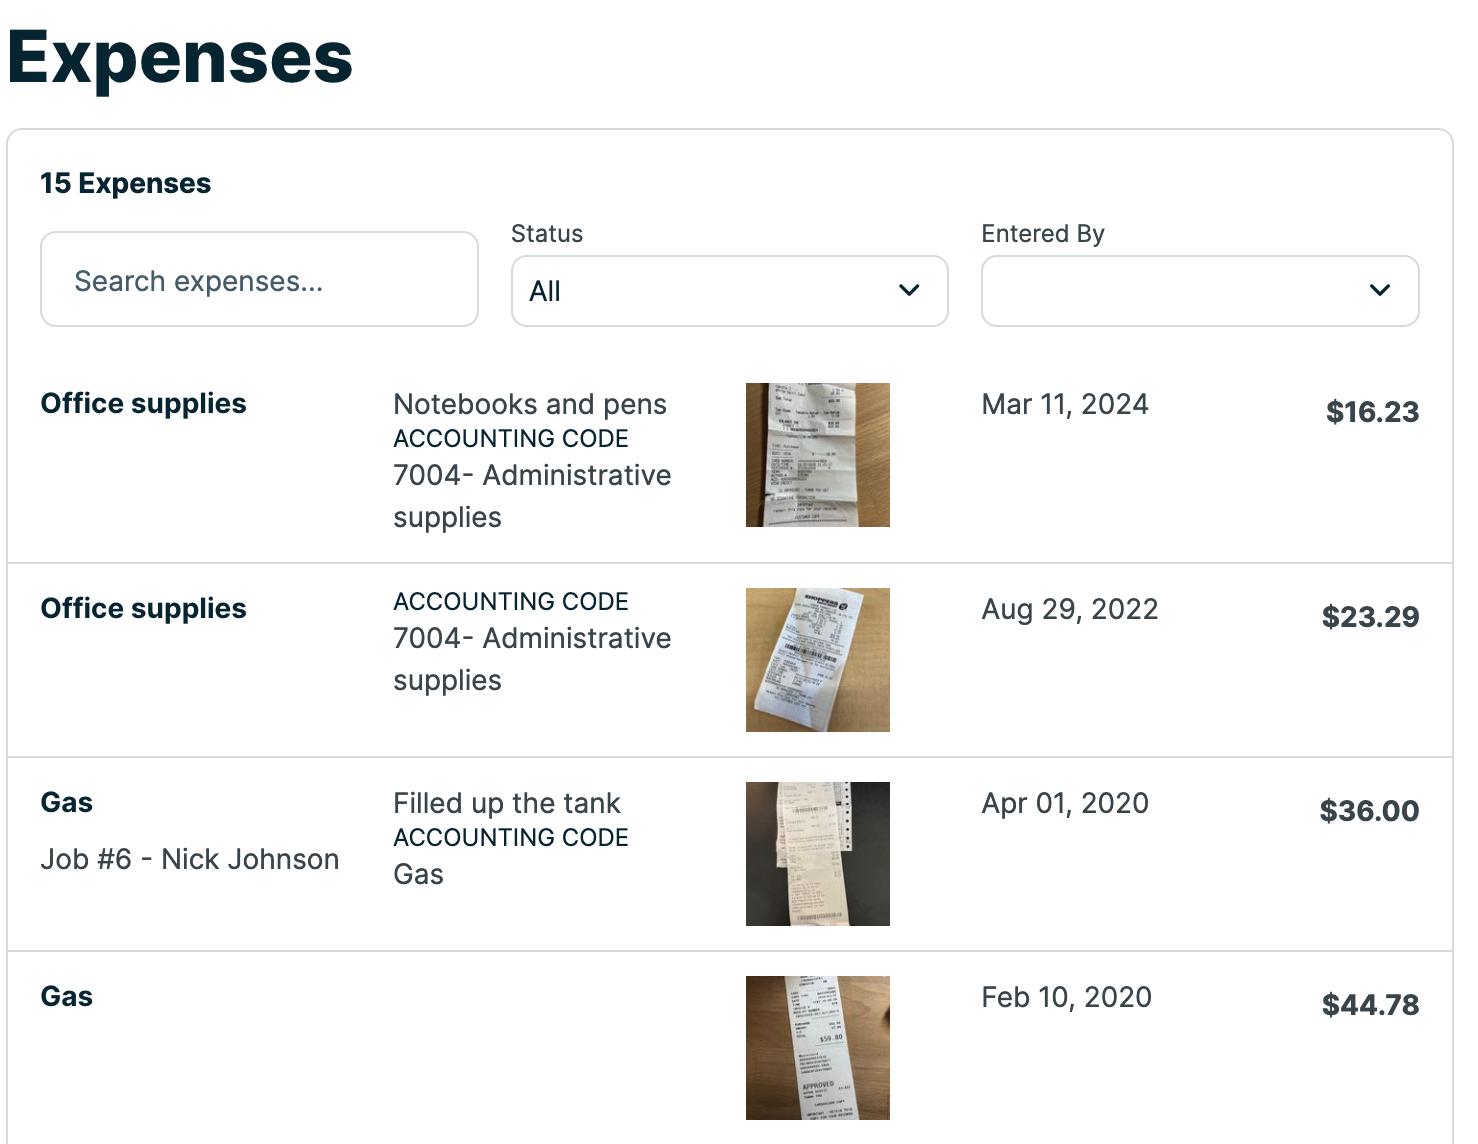
- From the Expenses tab on the side navigation
- From a job in the costs section
Note: Expenses can also be added from the Jobber app
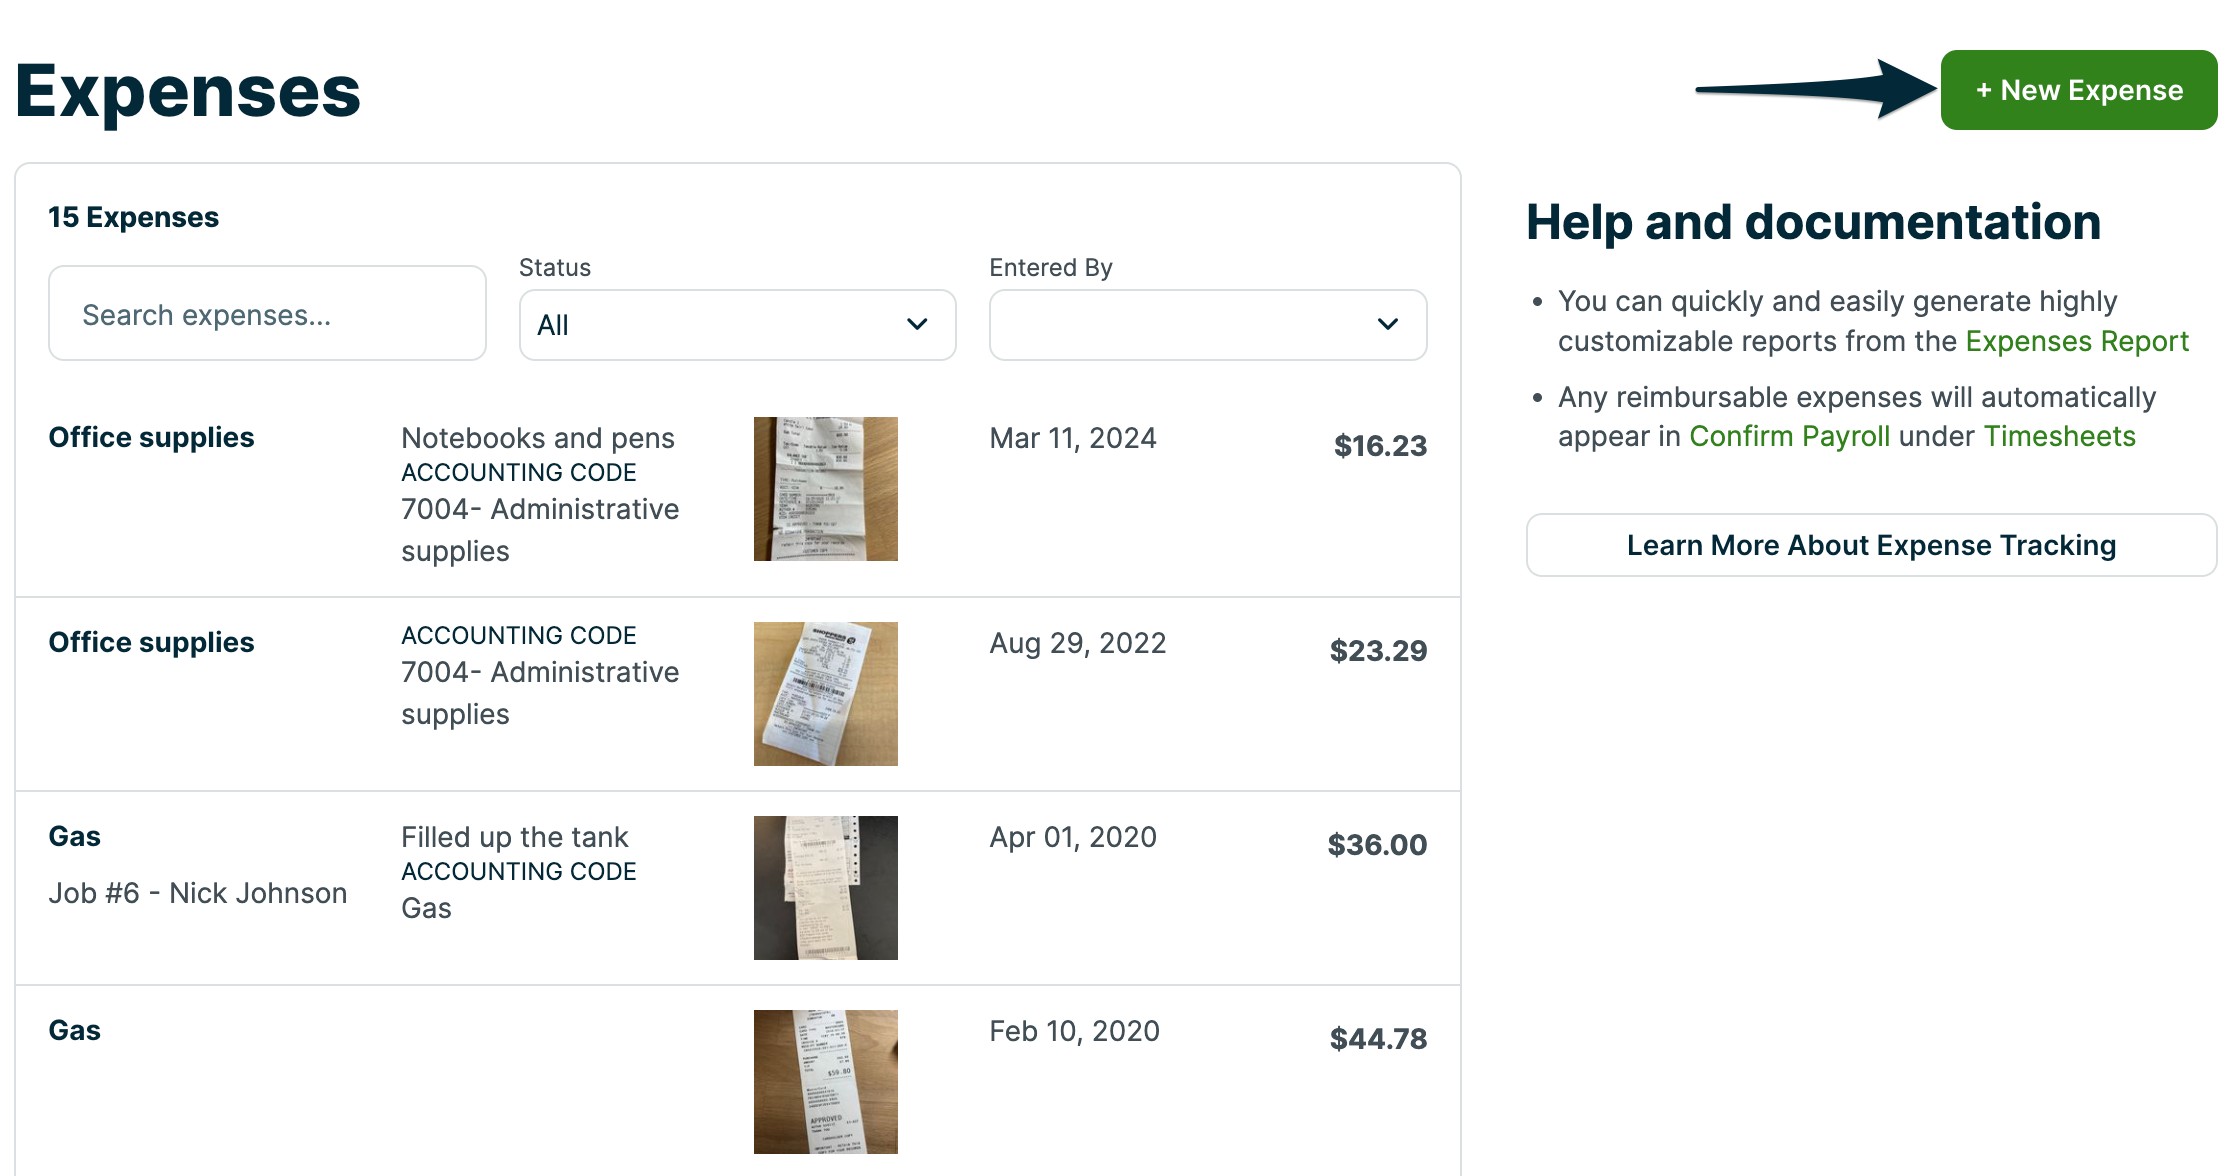
To add an expense from the side navigation, click Expense from the left menu, then click + New Expense in the top right.
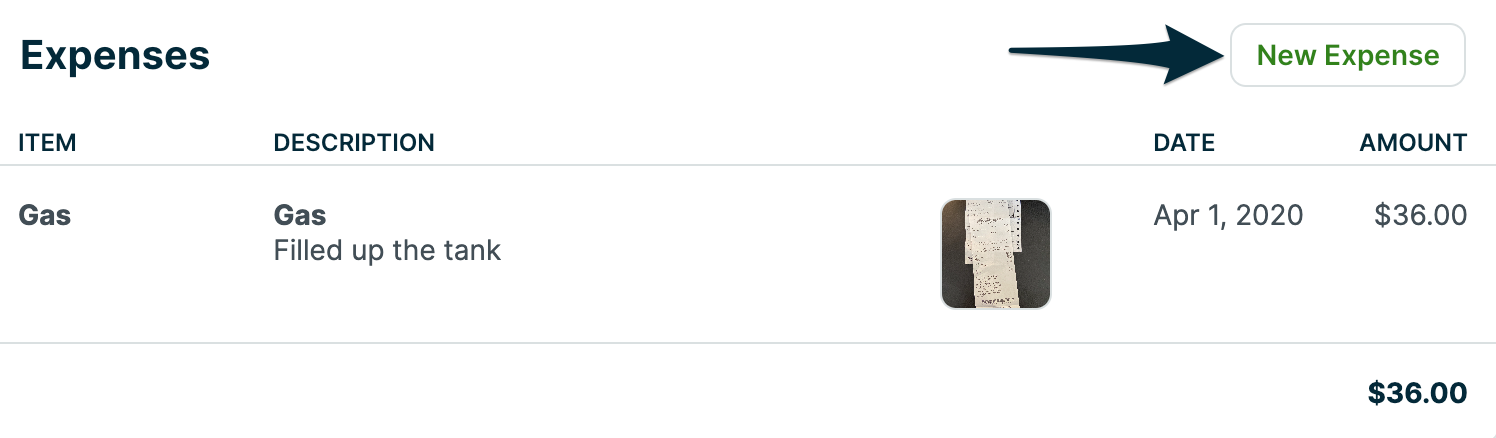
You can add an expense on a job, by navigating to the job you want to add an expense to. From the job, scroll down to the Expenses section, and click New Expense to create an expense that will be associated with this job.
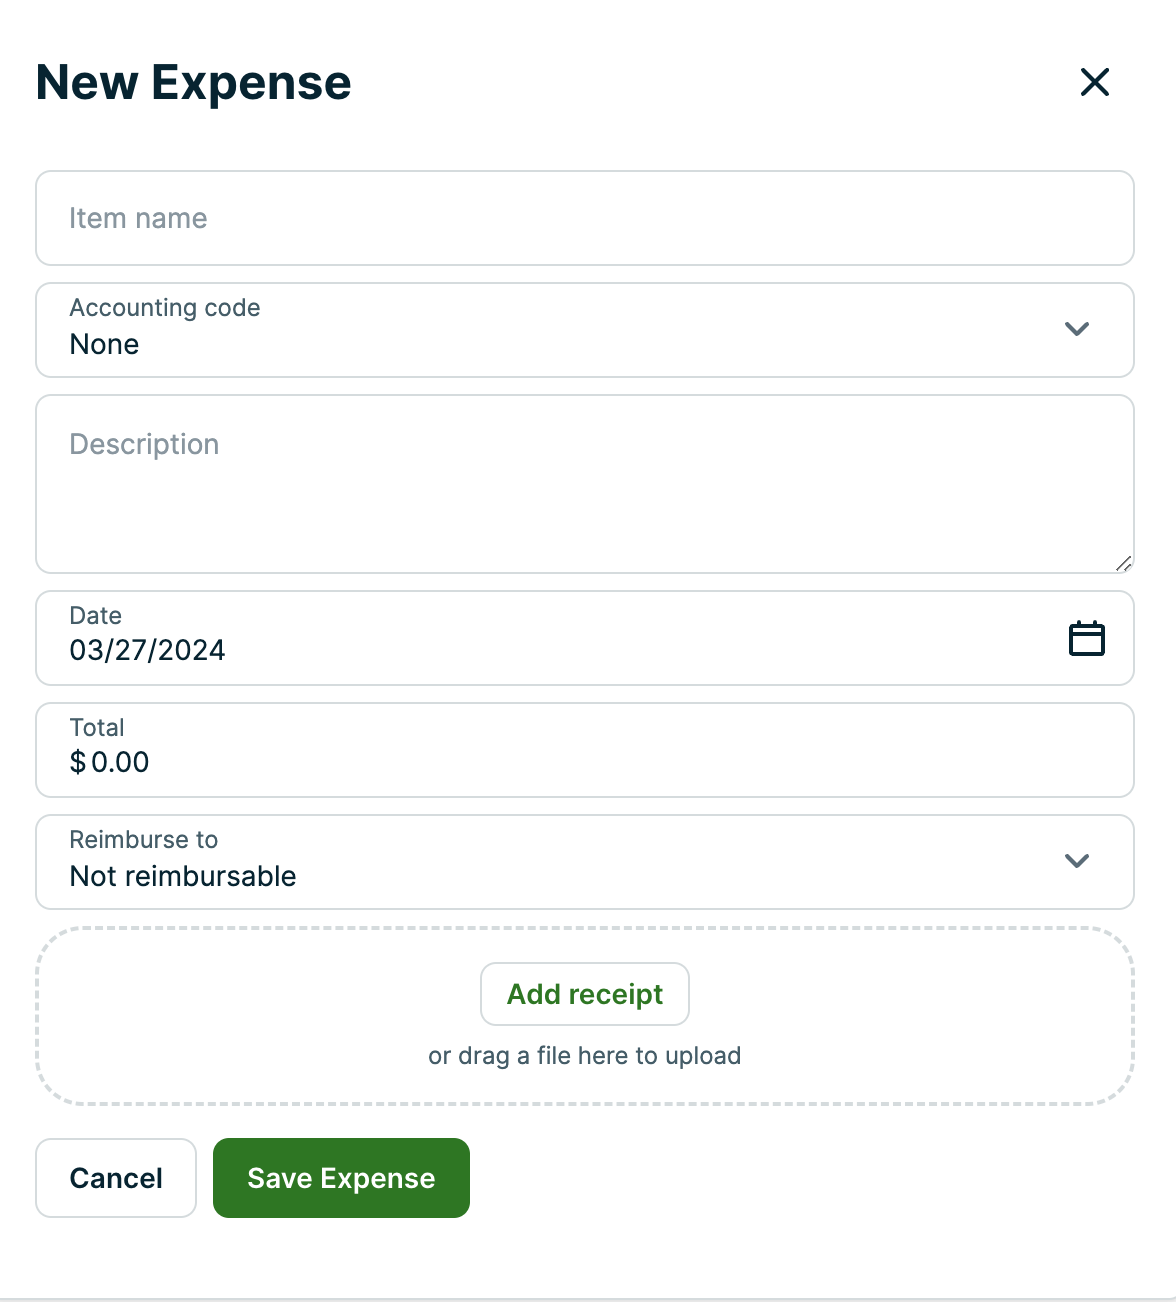
Every expense item in Jobber can contain the following information:
- Expense da****te: Default is the current date, click to modify it.
- Expense name: A name for the expense. This will auto-complete for expenses you enter frequently.
- Expense details: Provide details of the expense (This is optional).
- Expense amount: The amount of the expense.
- Reimburse to: Specify if the expense needs to be reimbursed to a user.
- Job: You can attach the expense to an active job.
- Accounting code: Select an account to categorize this expense under. This option will only be visible if accounting codes have been set up in the Expense Settings.
- Receipt: You can upload an image of the expense receipt.
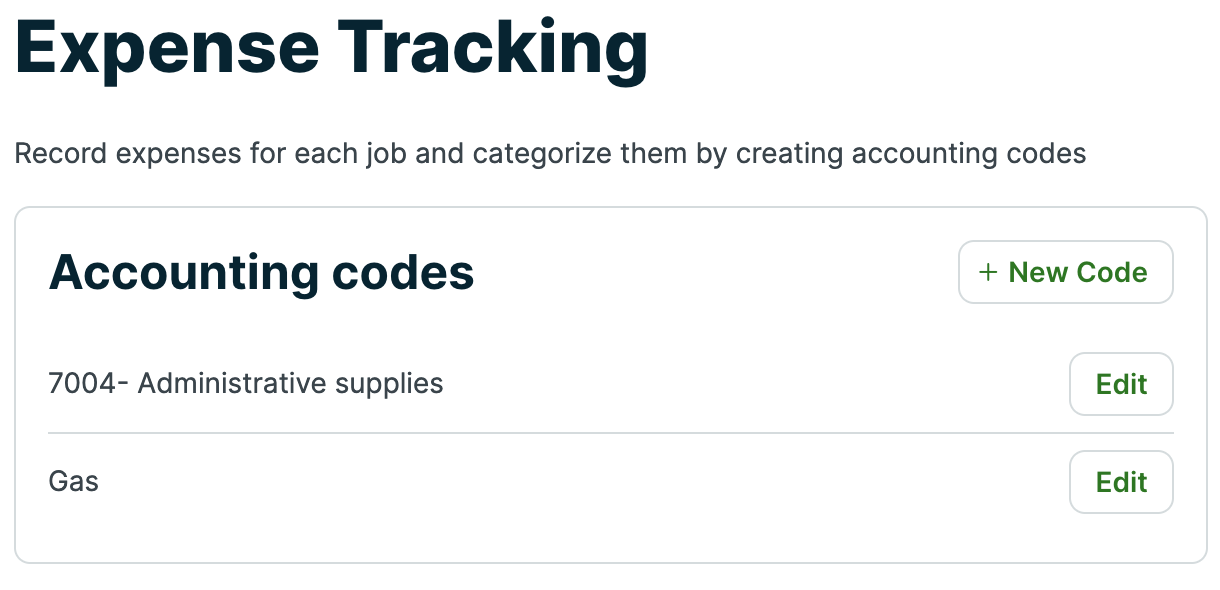
Expense settings
The settings for expenses are found by navigating to the Gear Icon > Settings > Expense Tracking.
This is where you can set up accounting codes which will be used to categorize the types of expenses that will be entered into Jobber. To add a new accounting code, click + New Code.
To edit an existing expense (for example, to change the accounting code name), locate the expense from the list, then select Edit.
Report on expenses
You can view the expenses report by navigating to Reports > Expenses.
If you wish to see the expenses that have been added for a particular client or job, sort the report by the Client name or Job # columns to group all expenses together.
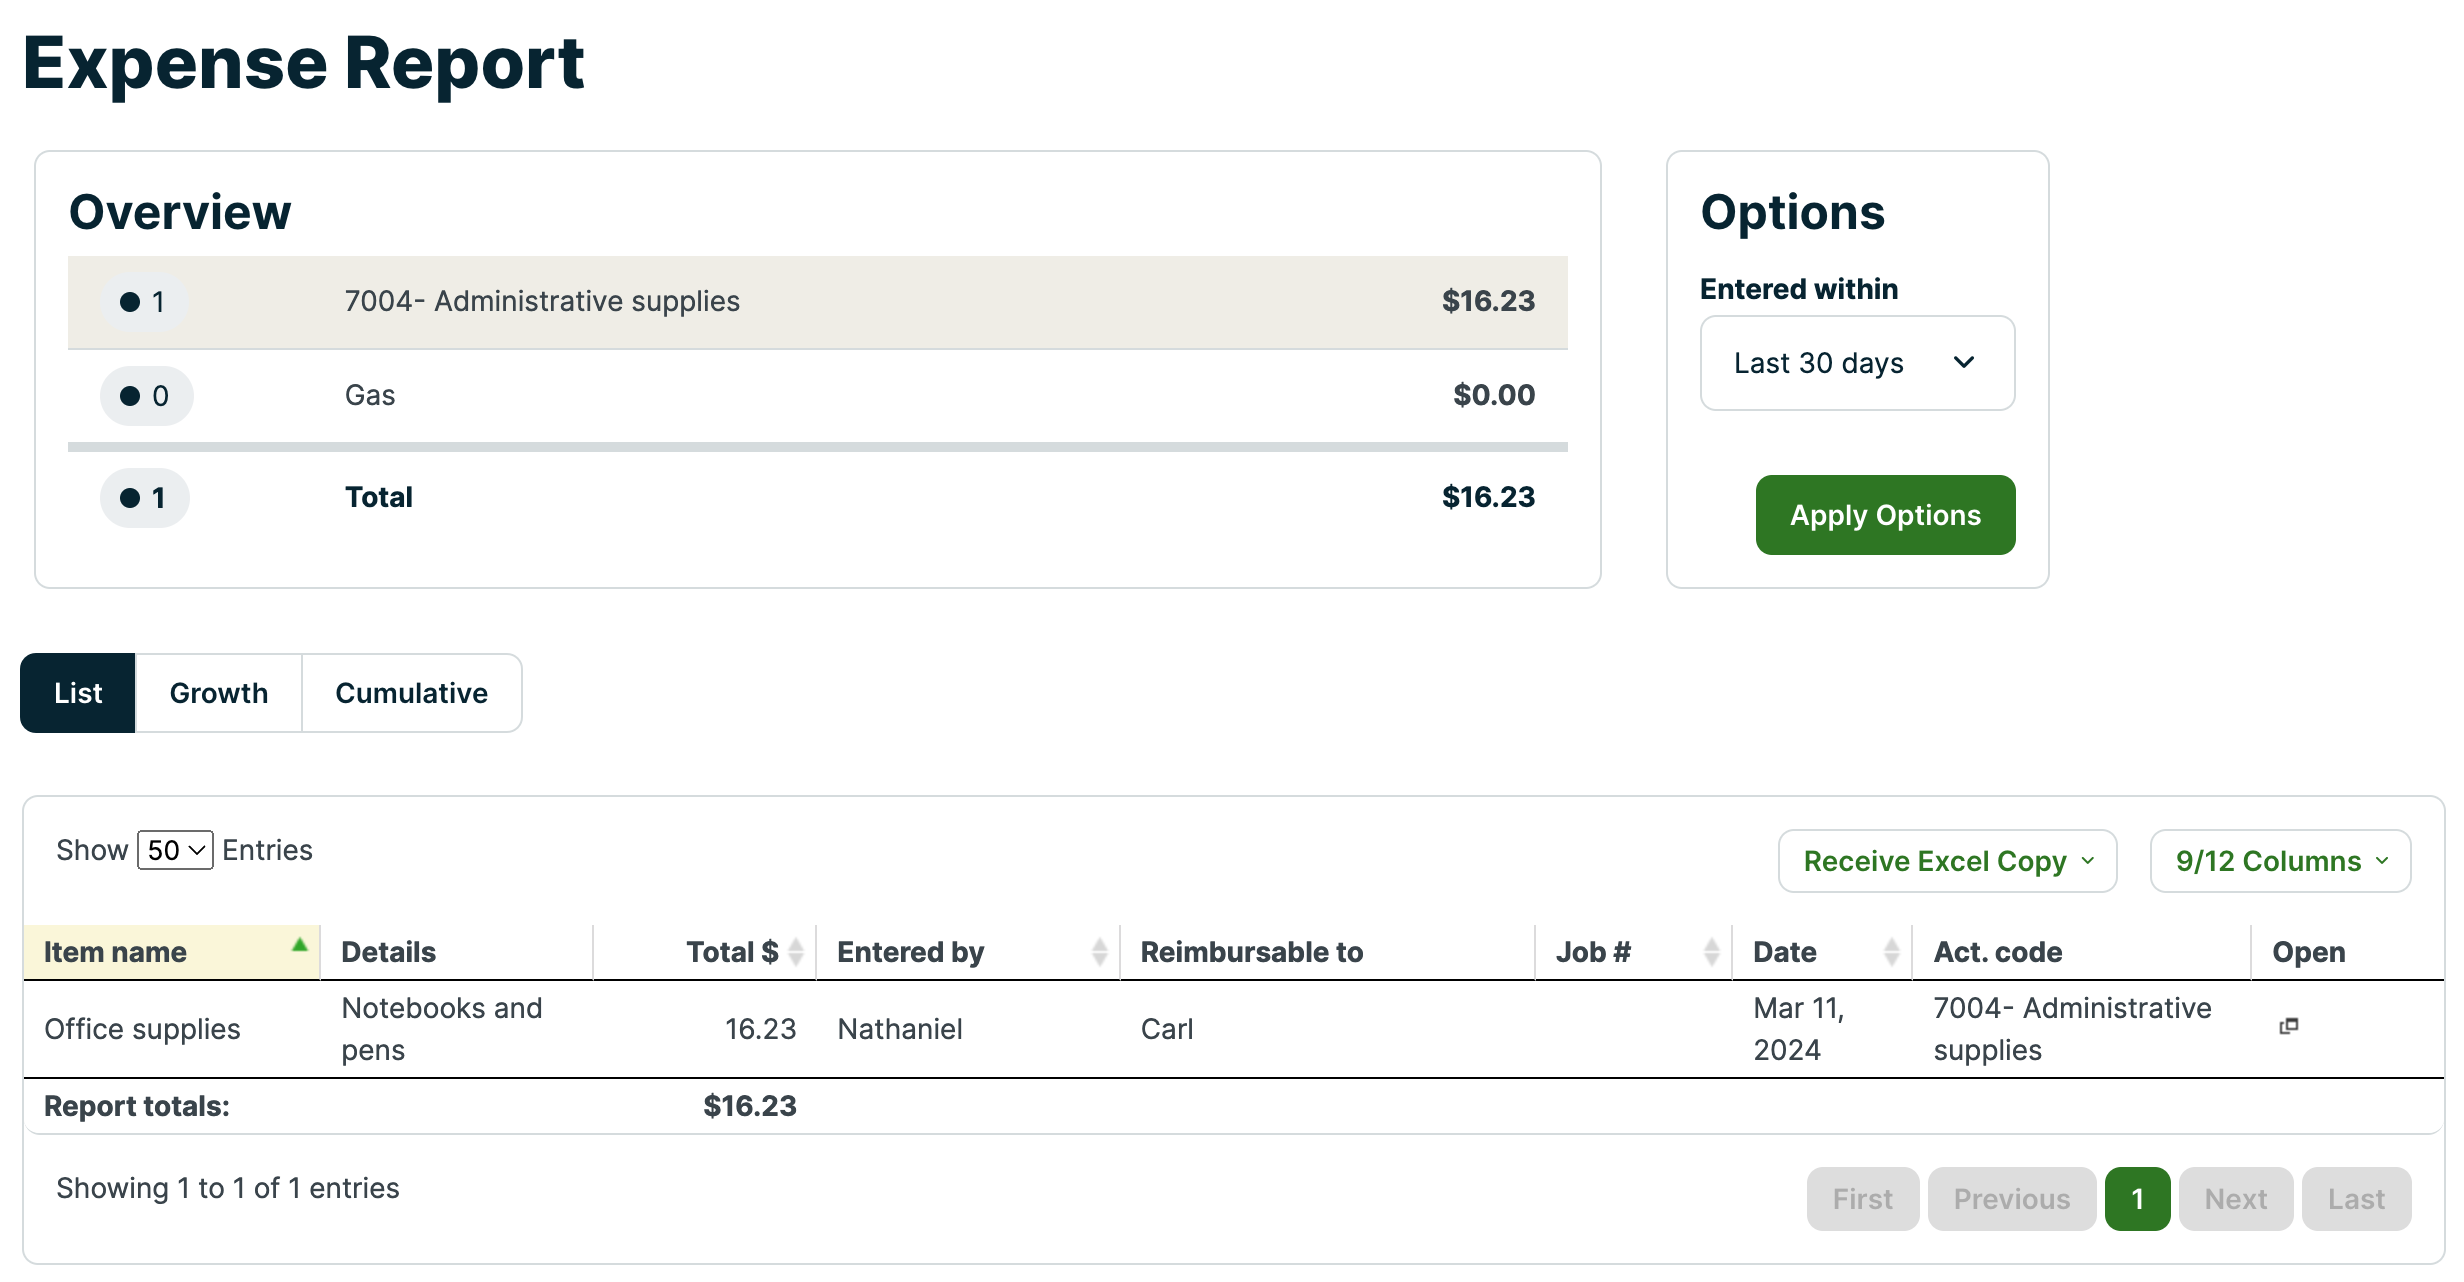
To add or remove columns from the report, click the Columns button found at the upper right of the report then select your columns.
The columns available for the expenses report are:
- Item name
- Details
- Total $
- Entered by
- Reimbursable to
- Job #
- Job address
- Date
- Client name
- Job description
- Accounting code
- Open - The icon in this column opens the expense details
Reimburse your expenses
Reimbursable expenses will automatically appear from Confirm Payroll. To get here click Time Sheets > Confirm Payroll. To mark a reimbursable expense as paid, click the Awaiting Payment button beside a user’s name, choose the expenses you’ve paid, and click the Mark as Paid button.