In This Article
Overview
Automatically deliver Jobber’s reports to your inbox on your schedule so you can make the best decisions about your business
With the Report Scheduler app, your reports in Jobber can be set up on a schedule to be exported and emailed to you automatically.
Connect the Report Scheduler
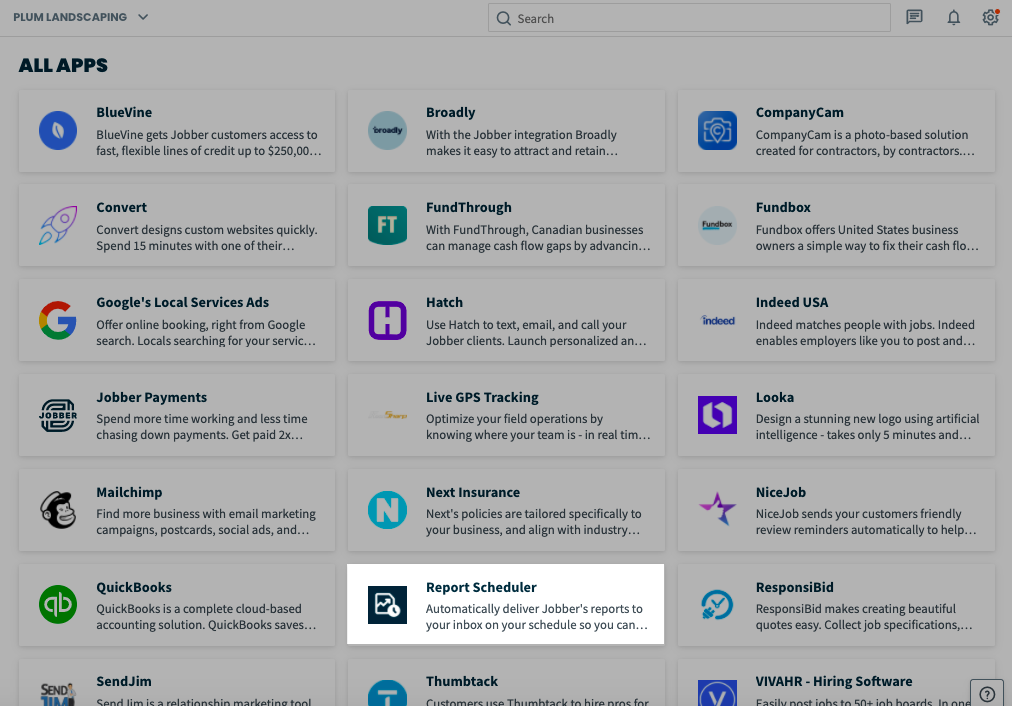
To connect the Report Scheduler app to your Jobber account, click Apps from the side navigation. From App Marketplace, locate the Report Scheduler and click on it to open the app details.
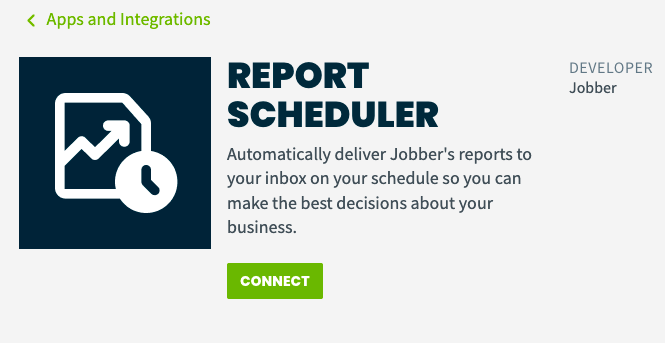
This page has details about the Report Scheduler app, including who developed the app (this app was developed by us!), features & benefits, and additional help resources. To access the Report Scheduler, click Connect.
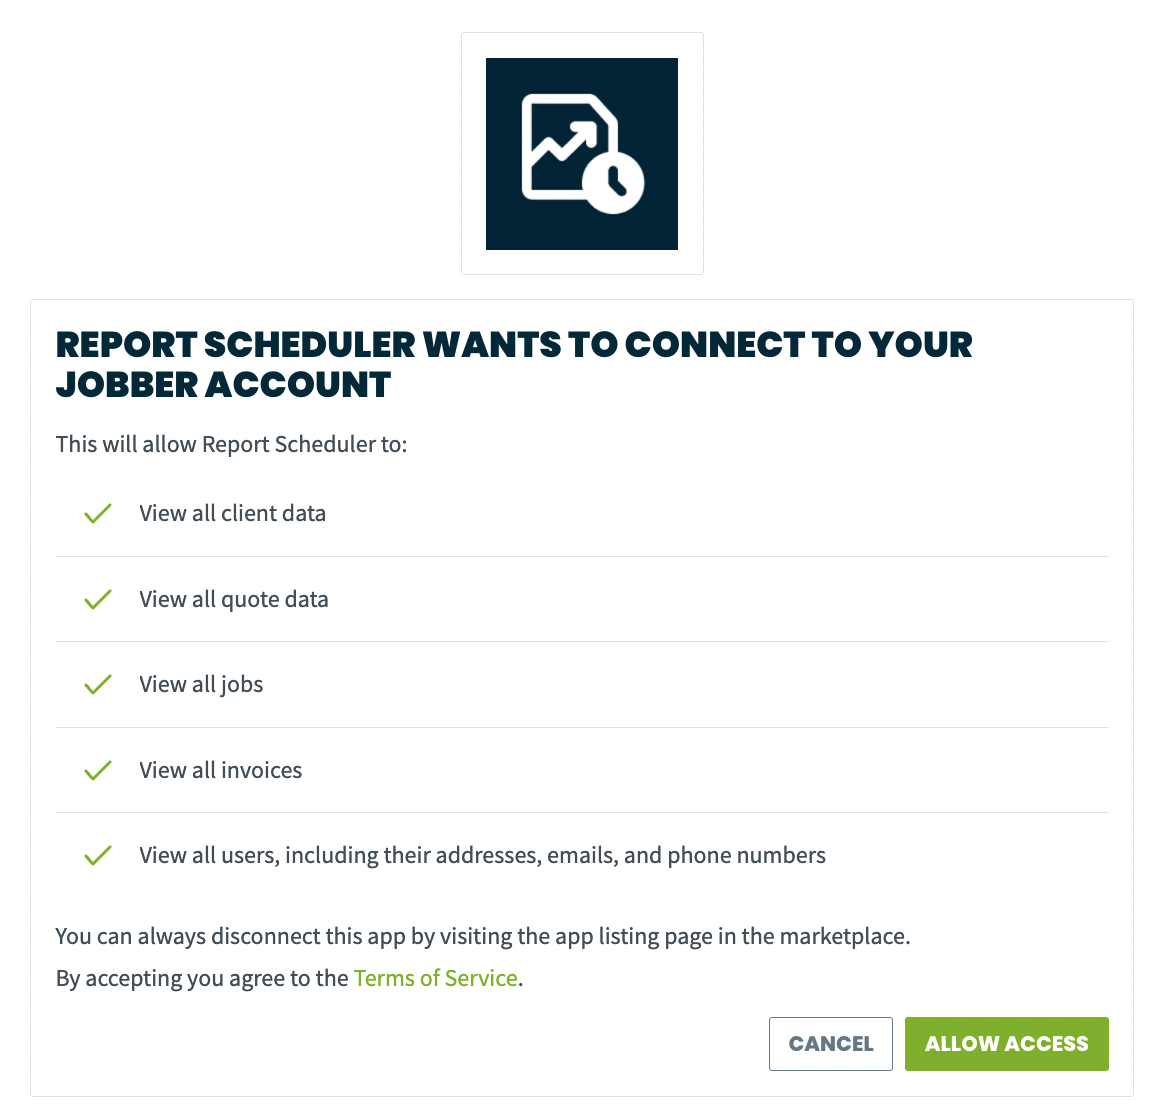
Next, you will be prompted to authorize Report Scheduler to access data from your Jobber account. This data is required in order to generate and schedule reports. Click Allow Access.
Once set up, you can access the Report Scheduler from App Marketplace (from the Report Scheduler card, click Manage App) or under Connected Apps in your settings.
Set up a schedule
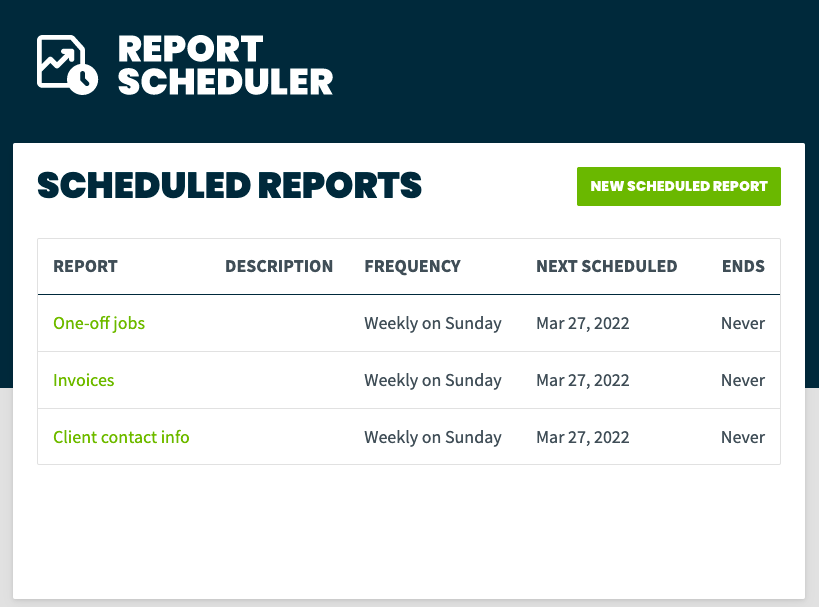
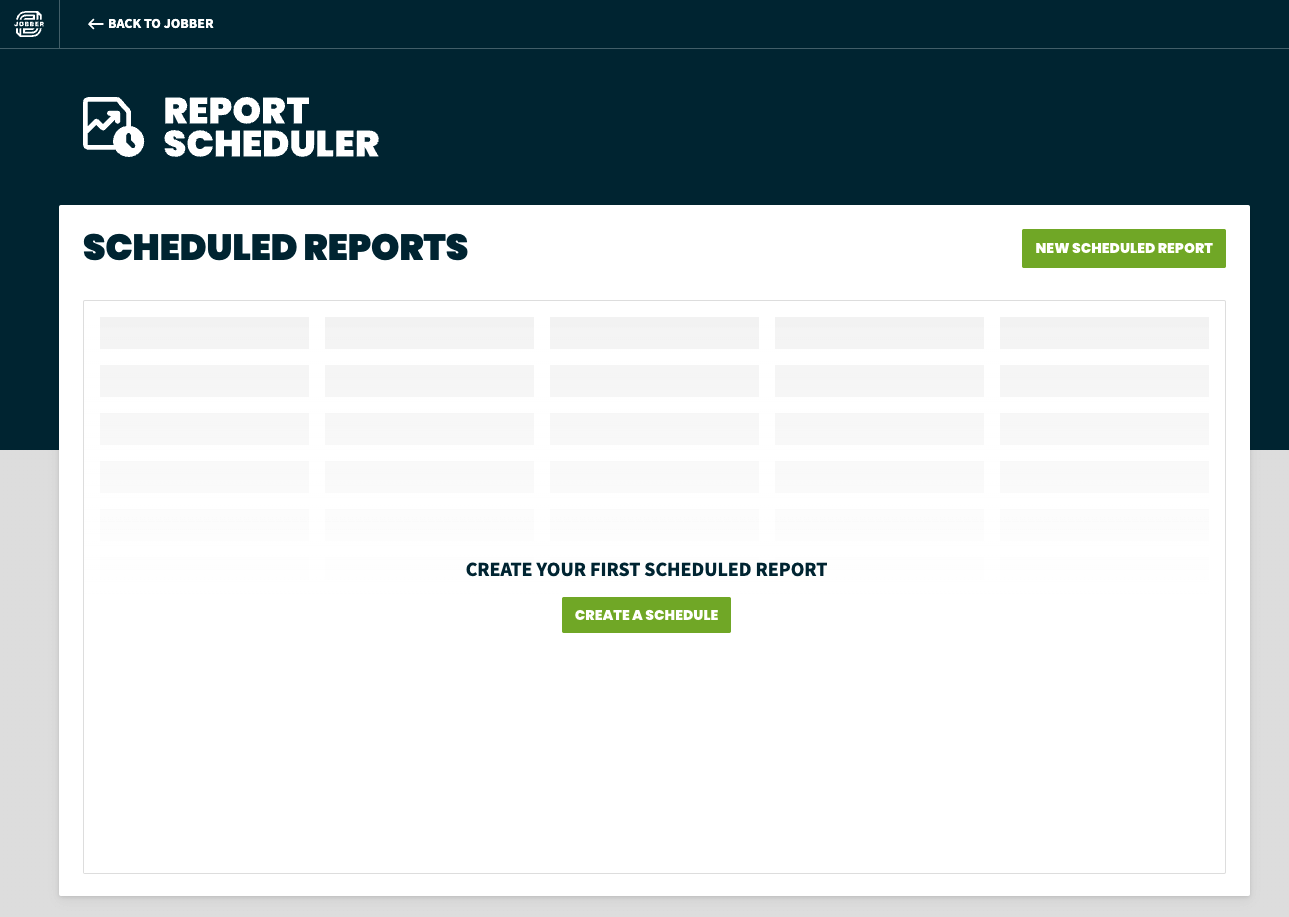
Now that the Report Scheduler has been connected to your Jobber account, it’s time to set up some scheduled reports! If this is your first time setting up a scheduled report, click Create a schedule. If you already have scheduled reports set up, click New scheduled report to add an additional scheduled report.
For each report schedule there are three sections to fill out:
- Report details
- Recipients
- Schedule
Report details
This is where you will select which report you would like to have sent to you as a CSV file on an ongoing basis. The available reports that can be scheduled include:
- Aged receivables
- Bad debt
- Client contact info
- Client properties
- Invoices
- Projected income
- One-off jobs
- Visits
- Recurring jobs
Note: Not every report from Jobber.com is available to be scheduled using the Report Scheduler app.
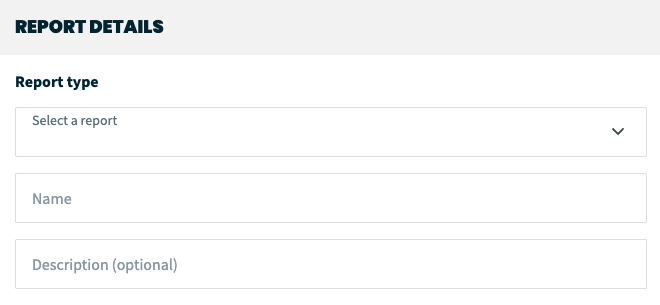
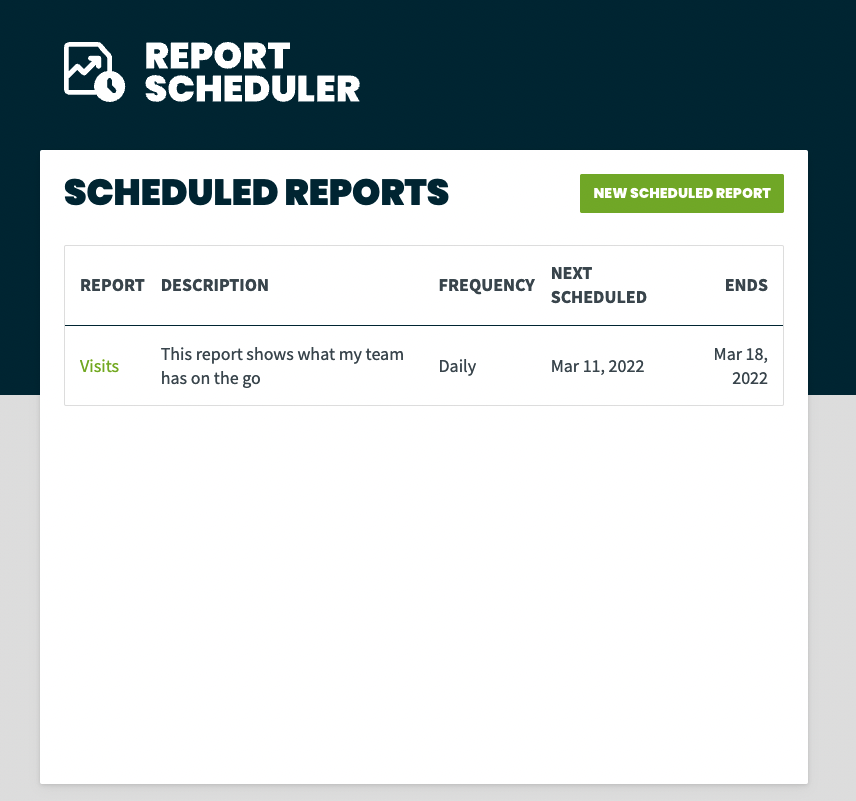
You also are able to choose a name for this report as well as add a description. The name will appear in the email you’ll receive with the report, and both the name and description will appear in the overview of your scheduled reports.
Recipients
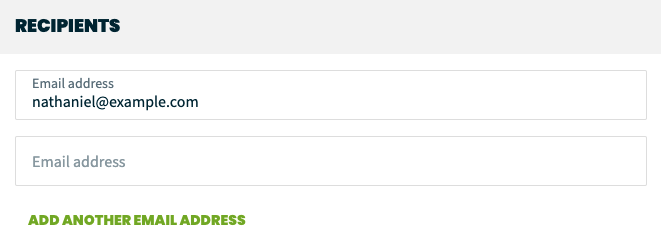
The recipients section is where you will enter the email addresses that the scheduled reports will be sent to. By default, the email address that you’ve used to sign into Jobber and the Report Scheduler app is filled in already. This can be removed and a new email address can be added instead, or multiple recipients can be set up to receive this report. To add multiple recipients, click Add another email address and enter the email address for each recipient.
Note: Multiple email addresses cannot be separated by commas in a single field.
Schedule
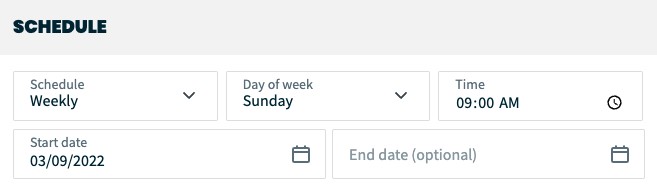
The schedule section is where you’ll set up how often the report will be sent to you. The options are:
- Schedule: This can be daily, weekly, or monthly.
- Note: If you would like to receive a weekly report on multiple days of the week, you would need to set up multiple report schedules so that you have one for each day. For example, to have reports sent on Mondays and Wednesdays, you would need to create a report scheduled for Monday and then create another one for the same report for Wednesday.
- Day of the week/month: This is the day of the week or month that the report will be sent. If you select Day of the week, the options will be days of the week. If you select Day of the month, the options are calendar dates or the last day of the month.
- Note: If you are setting up a report scheduled for the end of the month, select the option for Last day of month rather than selecting the 30th or another date. This will account for the variation in length for each month.
- For reports that have the options to select a date range (for example, the visits, one-off jobs, or recurring jobs reports). we’d also recommend selecting This Month instead of Last 30 Days to account for months that have 31 days.
- Time: This is the time of day you will receive the report in your email inbox.
- Start date: This is when you want this schedule to take effect.
- Note: The start date might not necessarily be the first day you receive a report, but rather the date when the schedule becomes active. The date you receive a report will depend on the day of the week or month that you’ve selected in the schedule.
- End date: This is optional. If no end date is entered, this report will continue to be sent according to the schedule unless an end date is added or the scheduled report is deleted.
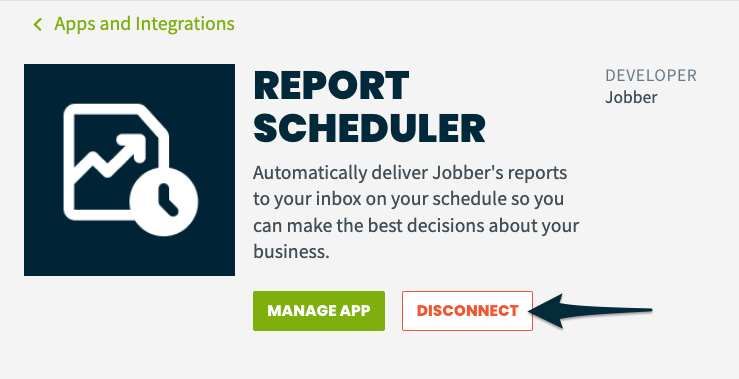
Disconnect
To disconnect the Report Scheduler from your Jobber account, click Apps from the side navigation.Locate the Report Scheduler and click on it to open the app details. Click Disconnect.
Note: Once you disconnect, your report schedules will be deleted and you will no longer receive reports automatically.